Sometimes we don't realize how great things around us are. While I have the opportunity to see these beautiful towers, I'm very happy to share with you :)
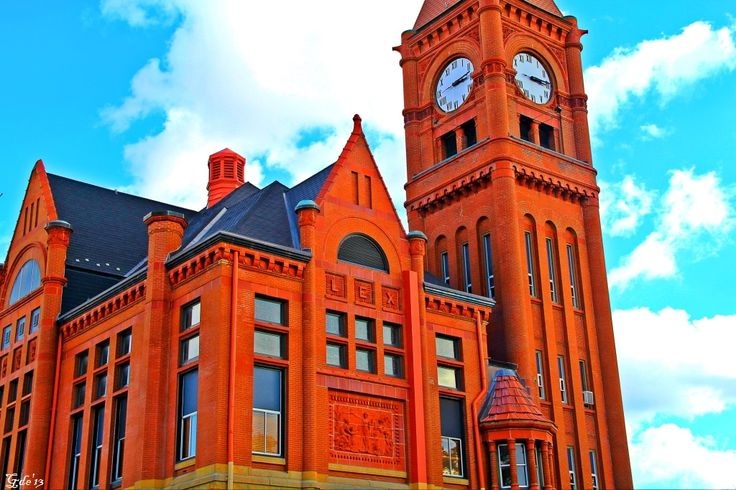
DMV Office, Fairfield, Iowa
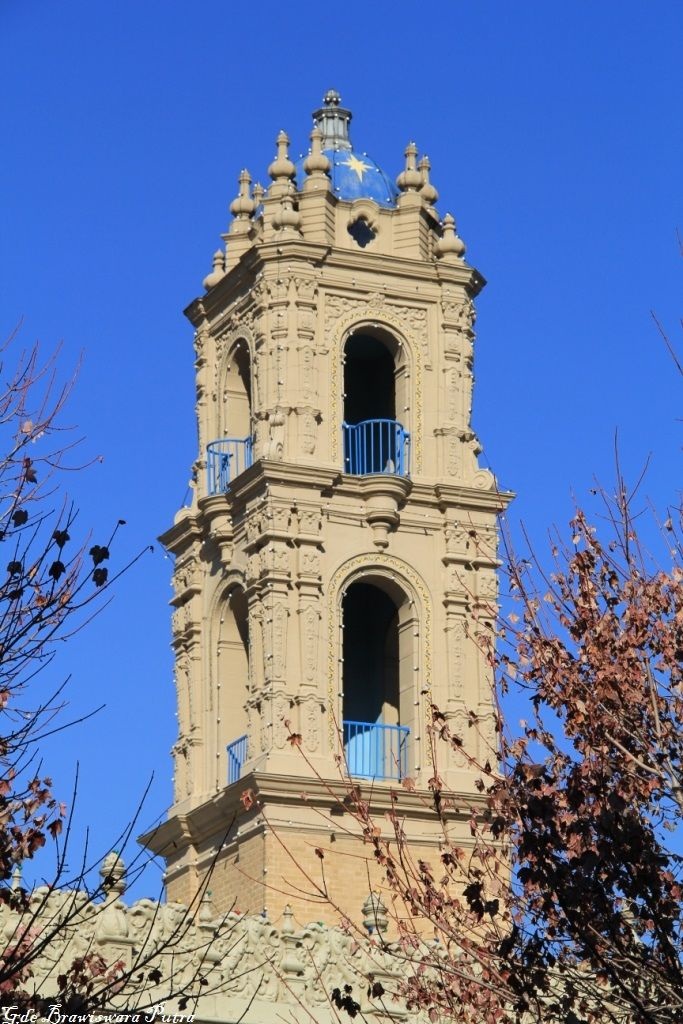
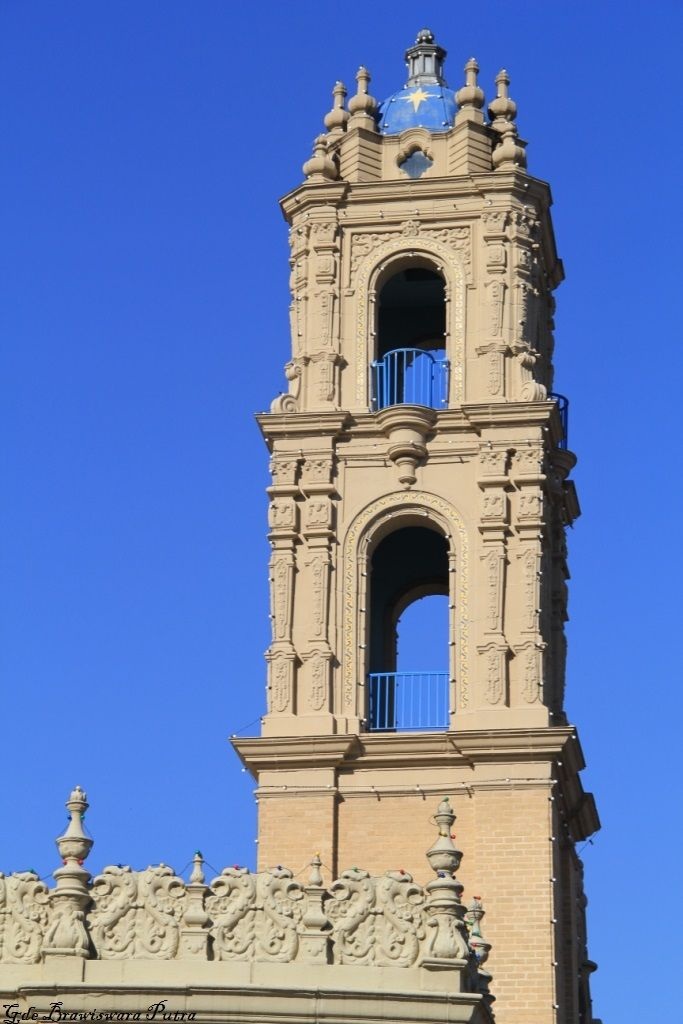
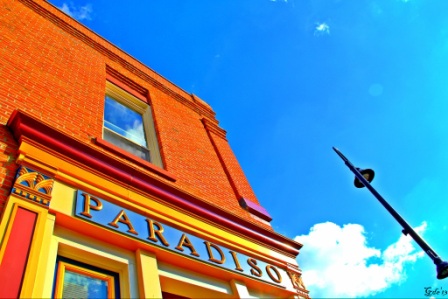
Kansas City Plaza
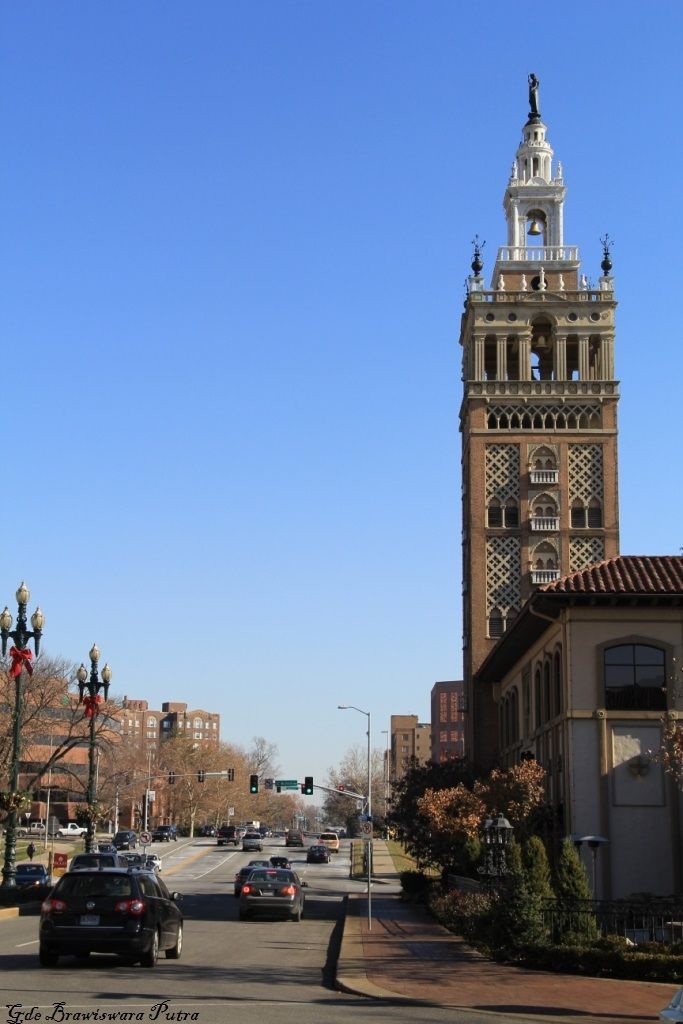
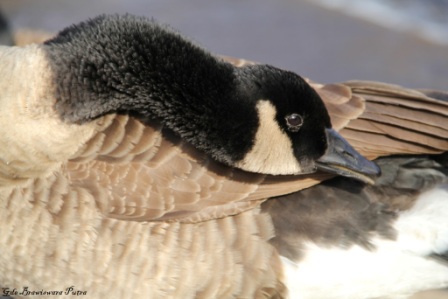
Kansas City Plaza
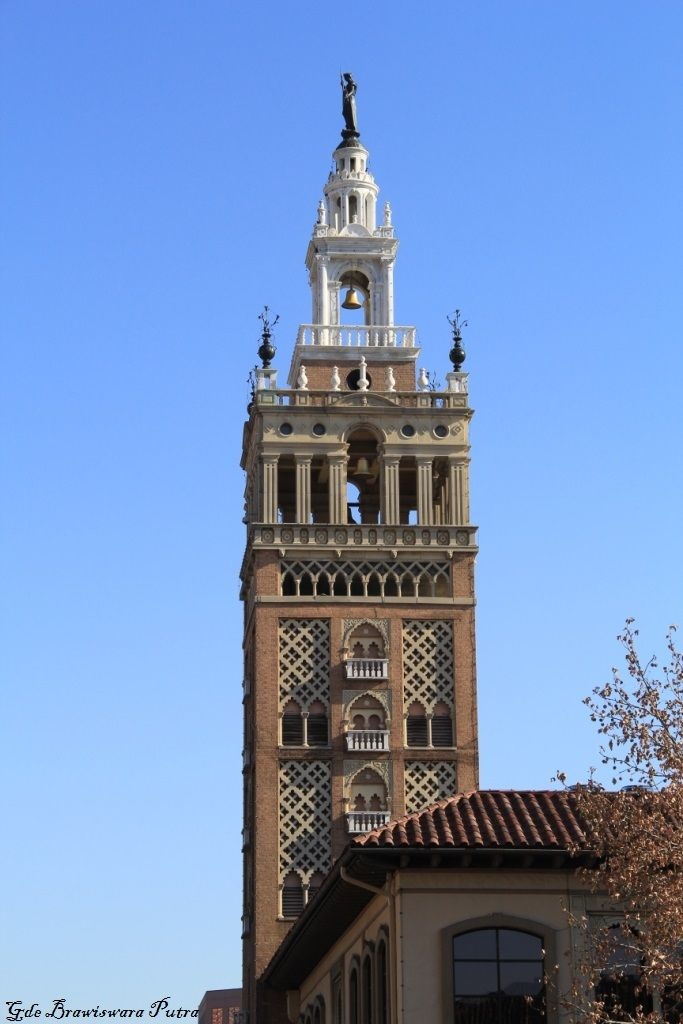
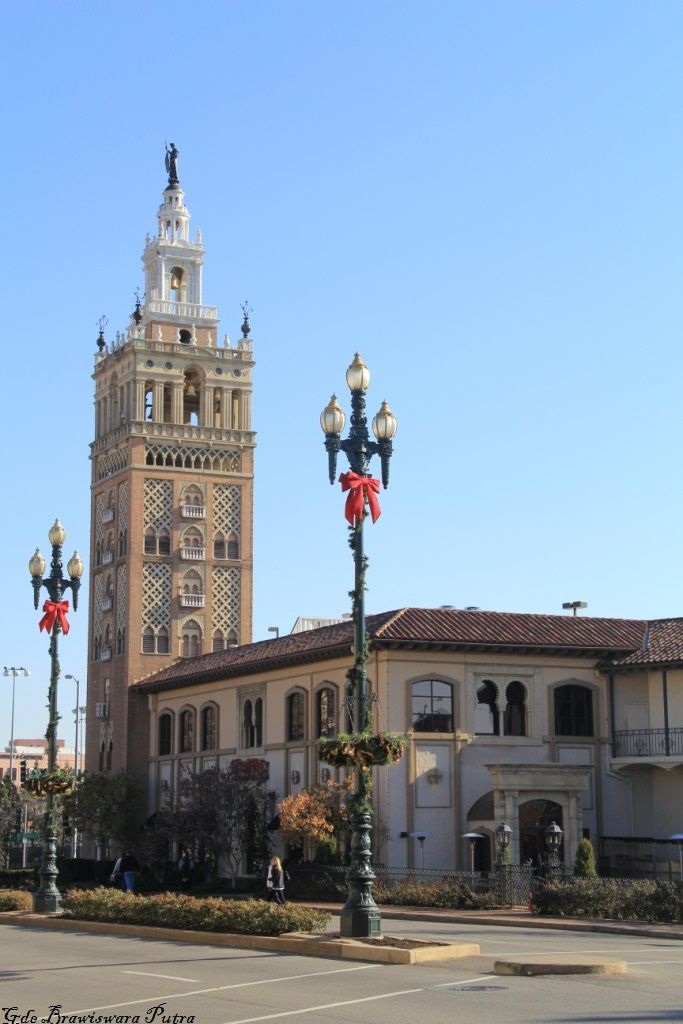
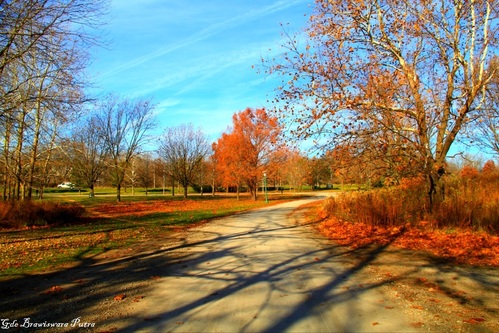
Kansas City Plaza
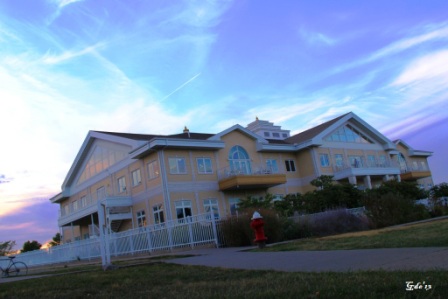
Kansas City Plaza
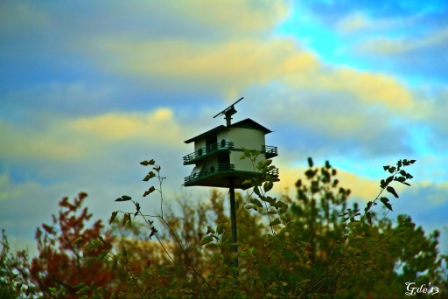
Kansas City Plaza


 RSS Feed